Videos · Rust Fundamentals Applied Program · Week 1
Create and configure GitHub Codespaces for Rust development
GitHub Codespaces provides a normalized cloud environment for running Rust projects, allowing developers to configure machine resources and pre-install tools like rust-analyzer to ensure consistent development setups across different operating systems.
Transcript
To get started with Codespaces, all you need to do is ensure that you are logged in to GitHub. As you can see here, I've logged into my account already, and you should probably do the same before trying these steps out. Now, with basically almost any repository, especially if it's on your account, you'll see a button like this, Code. And usually, before Codespaces was announced, you would click here, and you would see the local portion of it. Now, this Codespaces tab is available, and in most cases, that will be the default.
And once you click on this, you will see that there's no Codespaces, and you can create a Codespace on main. That means that you will get your development environment created on the cloud for the main branch. So, yeah. Before we do that, though, I want to show you what it means that these three buttons here, because they definitely have several different options. You can set up pre-builds, which we're not going to cover, which is just a way of setting up specific configurations.
Or you can configure a development container, which we'll see later. But I want to concentrate here in new with options and see what that means. So, I'm going to click on that. And here we have the ability of using a different branch. Other than main, in this case, this project only has the main branch.
But if you have some other branch, when you want to create a development environment with that code on a different branch, you would be using that over there. The region is automatically selected for the one that is closer to where I'm located. And in this case, USE sounds correct. Now, the machine type, two core, four gigs of RAM. That looks pretty good to me, but I can go all the way to 16 cores, 32 gigs of RAM, and 128 gigabytes of space.
Now, depending on what you want, these defaults will always be fine. So, let me go back to my repository. And I'm just going to click create cool space on main. So, once you do that, you will get to a page that looks similar to these. And VS Code will load.
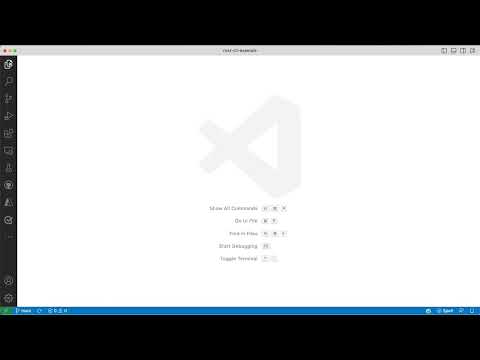
So, you will have all of the capabilities of Visual Studio Code, but on the cloud. Now, behind the scenes, and this will take a few minutes, actually, depending on what you're trying to do, you saw they're managing extensions, and the extensions are getting updated over there. And because everything is asynchronous, you will get this welcome message saying, hey, we're running, we're trying to install things, feel free to poke around. But right off the bat, you have your code here. I was using an example GitHub repository with...
A Rust project that I have there was building that has a few files already. But you can see this is going a little bit crazy there, doing a lot of installation of extensions. So, that's going behind the scenes. But right off the bat, I'm able to try and work around and see what this environment is. Now, let me take a look at what we're dealing with here.
So, I'm going to make this a little bit bigger. All right. So, I've made my terminal font a little bit bigger. Let me see. This is a Linux system by default.
And so, let's take a look what we have and what we're dealing with here. So, it's by default Ubuntu. That's fine. That's LTS. This is a Linux system.
It's definitely not my machine. You can see here that I am working off of a browser. Now, one thing that won't work is if I want to do copy-paste, if I do Ctrl-C and then Ctrl-V, we'll get a message. Like this one, because it is a browser, you have to make sure that you allow these and I'm going to allow it. And now I can paste, but definitely already powerful and I can do certain things like I can definitely interact with the operating system.
So, I can do a sudo update to get all the latest packages. In this case, this is a Linux system. In other systems, it might be slightly different. So, why is this important? Because we will be able to work in a normalized environment.
That means that if you are visiting this repository, if you're forking this repository and you click on code and get started with Codespaces, you will have the same environment as I am instead of, like, trying to figure out what will work on OS X, on an Apple computer, on a Windows computer, on a Linux computer, what version of Linux. It will definitely be a little bit more complicated. So, because this is normalized, then we won't have these problems because we're using Codespaces. So, when we're here, we can start setting up and do all the things that we would normally do with our own environment, except that we're on the cloud. So, I'm going to close these and I'm going to open up all of the things that I'm used to here.
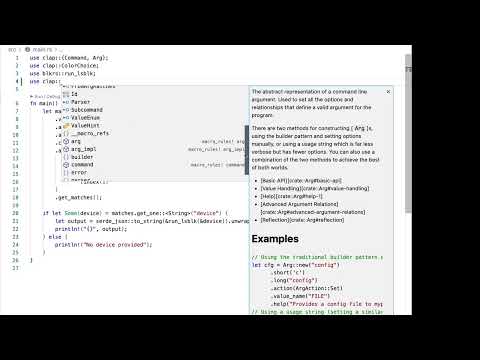
So, I'm going to look at main.rs. I have certain things already working. I can actually take a look at the extensions. I can see that certain things are installed. I can actually install the pre-release in Codespaces for Rust Analyzer.
That's perfect. Now, this will probably have some problems because I don't have the Rust tool chain installed, so that will cause some problems. But why would this be important and why would you want to use Codespaces? Because later... Later, we'll see how we can customize and we can add some of these extensions by default.
What does that mean? That whenever someone, including myself, goes to this project and wants to open up this project, instead of having to figure out what extensions to install, like the Rust Analyzer or even some system dependencies like Rust, we will be able to pre-configure those and let those be available for anyone opening up that Codespace. This is pretty straightforward. We haven't done anything really advanced here. The last thing I want to show you is how many CPU cores and how much memory.
Let's open up the terminal again. I'm going to... This is the terminal. I'm going to use free-m to see a little bit of the memory. You can see here I have almost four gigabytes there.
I've used about a gig of RAM, so that's pretty good. Let's play around here with htop, which is a tool to see what are the processes, what do we have here. Two cores. Those look pretty happy over there. We are using about one gig of RAM out of almost four gigs of RAM, so pretty good.
That's how you would check what we're dealing with here, and we will be able to interact with this and configure it later. This is good for now because now we're able to see that we have this tool, we have Codespaces running, and now it's also listed here. You can see it has this funny name. It's active, and it's up and running, and I can actually go ahead and do other things like stop or delete it. Behind the scenes, it's a container, so the ability to stop it, so if I click stop and I go to the other tab, it will probably say, "Hey, your Codespace is getting stopped." It's just like a container that you can start and stop.
That's it for fundamentals of or getting started with Codespaces and trying to start it out in almost any repository that you may find out on GitHub.
A new free tutorial every two weeks
Short, practical videos on AI and programming, straight to your inbox. Unsubscribe anytime.